Everyone then who hears these words of mine and does them will be like a wise man who built his house on the rock. Matthew 7:24
My, oh my, where has the time has gone? We've been in the house for a month now! And tisk tisk, I haven't shared any of our recent happenings, but the move happened by chance really. After spending the night away for a wedding, I told Charlie and my parents that I refused to unpack my bag in my upstairs suite one last time. I brought my essentials that were already gathered up and planted them on the subfloor (spoiler alert) of the new house. I was home!
Now let's rewind a bit... a lot has changed in the little house, but we still have far to go! Let's start at the beginning of the to-do list I shared in my last post. 1980s called... they want their popcorn ceilings back (so lame, I get it, but that's how crazy these ceilings made me). So I gave them back! It all began with a DIY concoction I found online.
1 TBSP of classic blue Dawn dish soap
one quarter cup of white vinegar
two liters of hot water.
Mix in a spray bottle and start super soaking your popcorn ceilings. I found that spraying from about five feet away was the perfect distance to keep the ceilings from getting too wet, but still got enough water to the final destination so that the popcorn was saturated. Then things got weird. I found that you had to wait a little less than three minutes to start scraping the portion of the ceiling that had been sprayed. If you didn't wait long enough, the popcorn was too dry and you got dents and dips in the sheetrock. If you waited too long, it got either super gunky and chunky or started to dry out. Due to this exact science, I sprayed sections in about four feet by four feet sections. This allowed me enough time to spray, scrape, spray, scrape, spray, scrape all across the room. I started with the laundry room because it was the smallest area and would be hidden behind doors. If the project went south, at least our guests wouldn't be subjected to visual disturbances while visiting.

the sample workplace

seriously, so ugly

I cut my recipe down since I was using this small spray bottle. Mom had all of these things around the house, so naturally I took them over to the little house so that we could do the first part of this project for free!

I knew this would be messy, but this was after scraping about six square inches and I had 1199 square feet still to go.

I moved onto the guest bedroom next

Cover your fan or hanging light fixture!

spray, scrape, spray, scrape, spray, scrap

The ceiling had never been primed so I scraped right down to the sheetrock and mud.

This is the point where I started thinking about pulling up the carpet...

DONE!

popcorn ceilings 1, vacuum 0

Now, I thought I was ready to paint!

Such a pretty sight!

This was what I was dreading the most. I don't know how high these ceilings are, but that ladder was like 12 feet tall and Mom and I were practically standing on the top of it to get the highest point of the ceiling

The joy I felt at this time will not be understood by anyone who has not scraped popcorn ceilings of their own!

When you get super excited and think it's time to paint the ceiling after you scrape it, you are sadly mistaken. This is what happens when you apply ceiling paint directly to sheetrock.

Stop laughing, it's not nice. I had no idea you had to prime sheetrock with a special primer. After a trip to Lowe's I was informed by the nice paint lady, who I am now quite chummy with, that you need to PRIME and then PAINT. Gotcha!

Thankfully, this stuff is only $12 per gallon. Good thing, I had lots of ceilings to prime!

Then it was time to paint!
I am woman enough to admit, that this DIY was not pretty. I made mistakes and I learned so much. This relatively short blog post does not come close to doing justice to this huge undertaking. All in all, we spent about $250 on our ceiling makeover. Our main expenses were the five gallons of primer and six gallons of ceiling paint (remember, I had to repaint that one room...). We were able to use the cheap rolling brushing to paint since it was a smooth surface being painted with flat paint, so that saved us money on this project too! Luckily, I had all the time in the world (and a four inch putty knife that I used to scrape the ceilings in the entire house) aaaaaand the world's most amazing mom on my side! About two weeks after I started the scraping, the scraping, patching, sanding, priming and painting were done. Words cannot describe my level of excitement the moment I realized the ceilings were done. There are a few areas where we may need to touch up... that stupid popcorn covers everything and a few bits got picked up by the paint roller here and there so they stuck to the ceiling, but they will not defeat me!
I'm not sharing our final product yet. I want to do a big reveal of the house. So I've decided in the end, I'll give a big happy little-house tour! Until then, I'll share with you my mishaps and success stories.
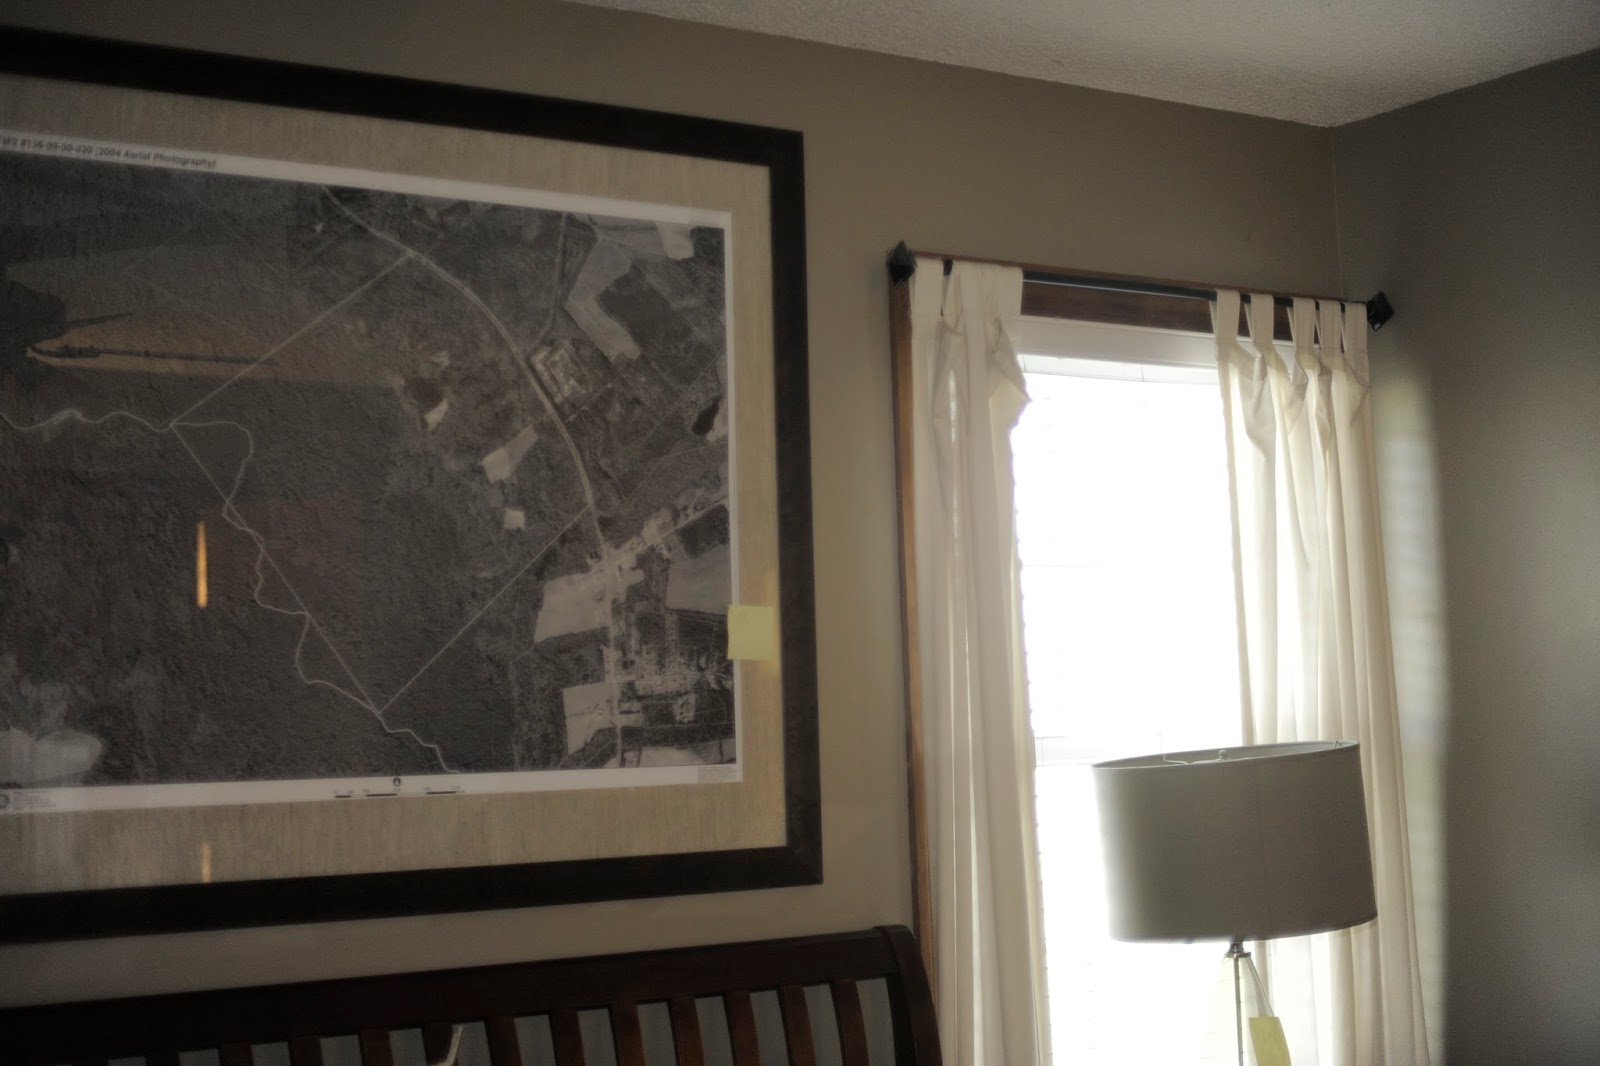
Project number two (also not for the faint of heart): painting natural wood trim that it stained a beautiful shade of early 1990s honey oak and has been sealed with something very shiny.
When I left my job working as a nurse, I had no idea how perfectly God had planned his timing. I was able to start renovations soon after the honeymoon and got the bulk of the dirty work done before I found a new nursing job! I'm monogramming after my 9-5 which I love, but now I have money to replace the floors I pulled up against Charlie's request. Whoops! When Charlie and I moved into the house, we had a bed and a TV. It's like watching your baby grow up... you look around and don't know when everything changed. I've spent so much time in this little house working early morning to late at night, and it's hard to believe it's the same house where I would visit my brother, his wife and later my two precious nephews for years before it became mine. Slowly, I'm getting settled in my daily routine in our new home and am building my first home with my husband. God is good, my friends.