
And God is able to bless you abundantly, so that in all things at all times, having all that you need, you will abound in every good work . II Corinthians 9:8
At this point in time, my morning routine consists of walking downstairs, fixing a cup of coffee, then asking Mom what my project of the day should be. Since we're still a bit off from moving (in case you have had the horrible circumstance of this being my first post that you've read, I suggest starting at the beginning), I'm trying my very hardest to get done all the interior design projects that I can tackle without actually living in the house.
Today, we deemed that project to be textiles.
Last weekend, Charlie and I picked out a new duvet for our master bedroom from Pottery Barn. We had gotten a handful of PB gift cards as wedding gifts, so this upgrade didn't cost us a thing! And it was on sale, yes! This morning's mission was to find fabric that we could use to make coordinating pillow shams. After ransacking Mom's seemingly endless supply of fabric around the house, we found half a dozen options that we spent the better part of the morning arranging, rearranging and arranging again. We finally settled on our picks! Of course, I'll be sharing pictures of the patterns that we chose and how I've sewn them all, but I wanted to wait until I could share the full master renovation with yall. So more on that to come later!
But I won't leave you hanging! In the mean time, I decided I would start with a simple project to get me warmed up on the sewing machine. I monogram on a regular basis, but it has probably been more than a year since I've sewn anything myself. My mission: cafe curtains for our kitchen window! Mom practically insisted on a valance for this bitty window, but there is just something about a cafe curtain that I love. The clean lines. The delicate rod. Those tiny little hooks. (Insert long sigh here!) I vetoed her decision. The cafe curtain won, and it was time for me to make it.
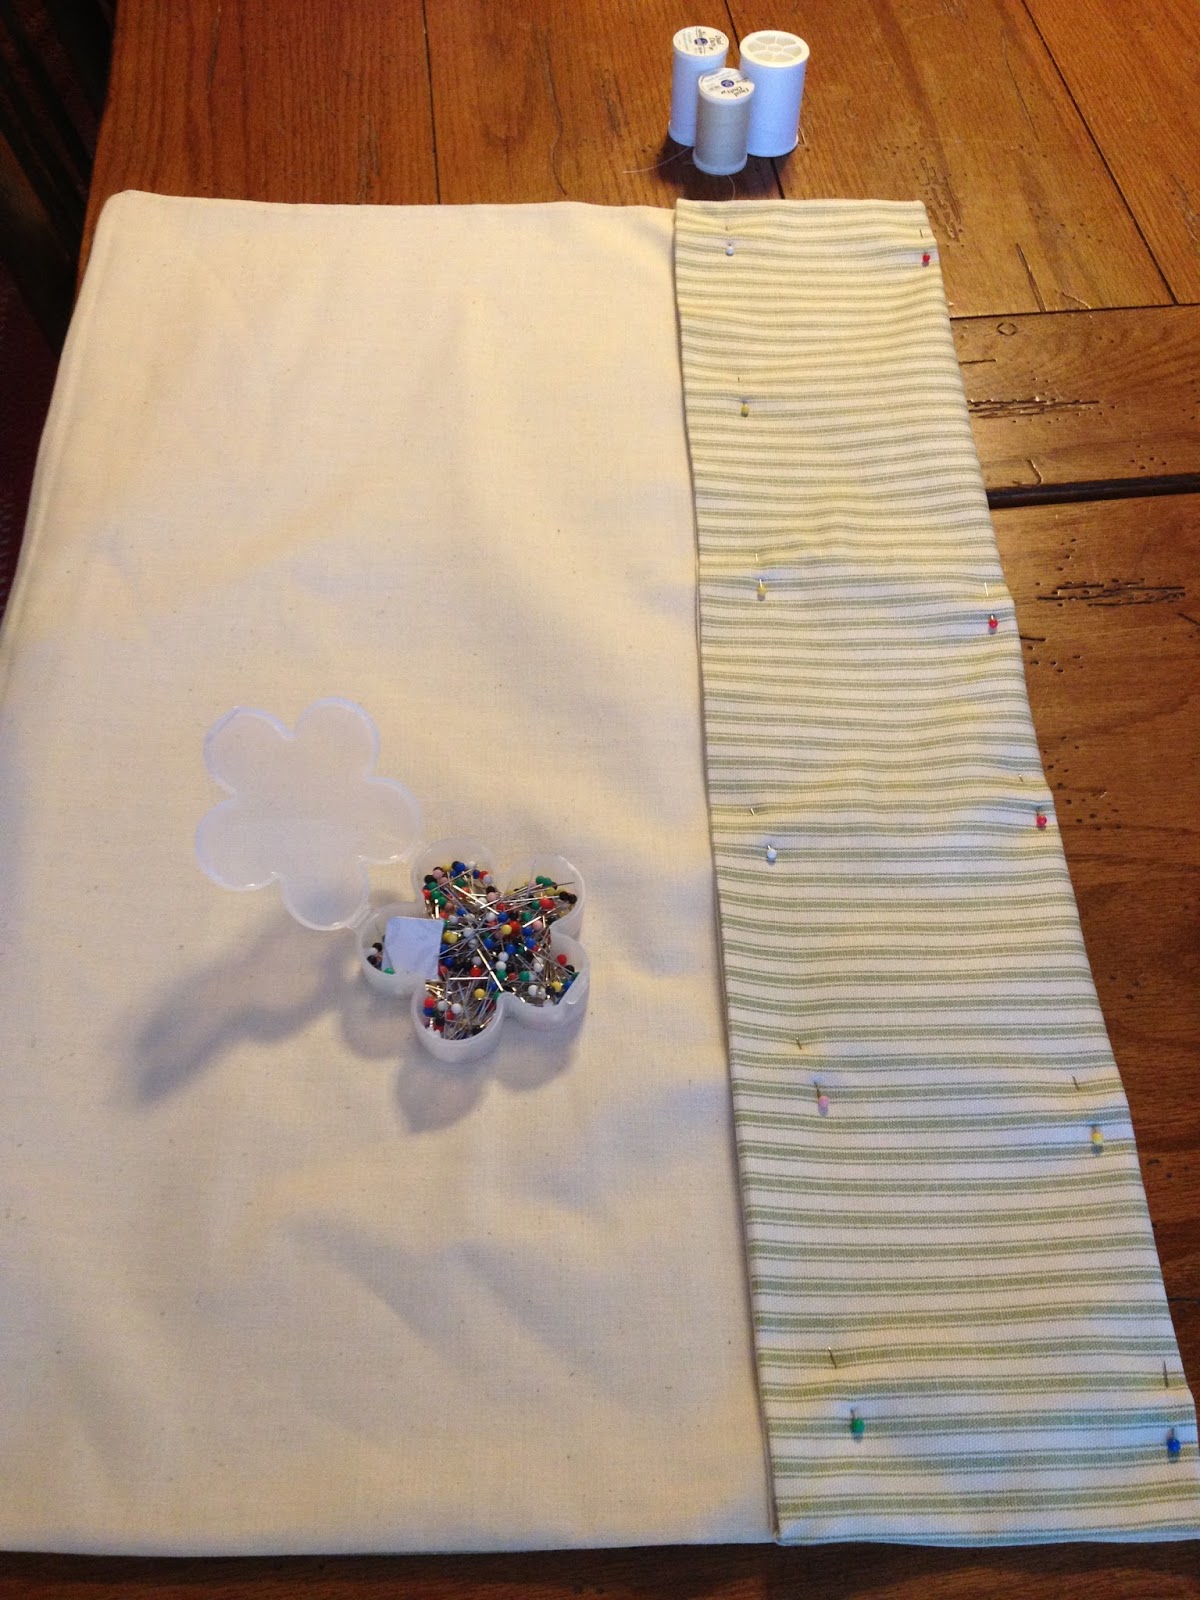
Mom very casually pulled out a large bolt of green ticking and said I was welcome to use that if I'd like. Seriously?! I shouldn't have been surprised... so I took the fabric and didn't ask any questions. And don't you worry, there was plenty of other fabric that I could use to make the curtain lining. I gathered all my supplies and got started!

I started by measuring the window to get the numbers I'd need for the length and width for my curtain fabric (face and lining). Mom says the standard for a curtain pattern is triple the window width (that way your final result doesn't look skimpy). In my particular case, I didn't anticipate closing the curtain that often so I decided double the width would be fine. The end result would hopefully be a nice curtain to soften things up a bit, without looking too bulky in the little window frame.

I cut the lining and the face down to the correct sizes. Mom had to remind me to cut off the selvedge, so don't forget that part!

I used the straight edge of my lining as the 'pattern.' I lined it up along what would be the top of the curtain and sewed that piece first.

Next, I pinned each side and sewed what would be the sides of the curtain.

Lucky for me, my pattern had stripes and was easy to keep straight. Here, I have sewn the top of the curtain and am working on the sides.

Here, I'm finishing up what will be the sides of the curtains.

I trimmed off the edges and flipped that bad boy so it was right side out.

Using a needle is a good way to get your corners out nice and tight. Otherwise, the fabric stays all tucked in and wadded up after you flip it.

I pulled my seams tight and ironed them down flat to make sewing my last seam easy peasy!

By ironing the seam, all I had to do was follow along the straight line with my sewing machine needle. This ensured a nice even hem on my final product.

All ironing complete!

Now, I measured my perfectly straight rectangle of fabric and hemmed my final and bottom seam so that my curtain would hang evenly in the window sill.
Now I'm all pinned up and ready to sew. I decided to pin both sides of my hem, although I'd only be sewing in one place. I did this because I didn't want to chance the fabric moving under the foot of my machine thus overlapping along the final edge. This was important because any excess would've shown around the face of the curtain. Eek! It makes me queasy just thinking about all of my hard work going to waste!

Here I am following my nice straight/ironed seam to create the final hem. My measurements worked out perfectly so that my cafe curtain would hang just right!

My final product is pressed and ready to be hung.

But, I don't live in the house where these curtains will hang... Sad... So I rolled them up and tucked them away so that they are all done and ready to go once we are moved in the little house!

That is, after I took a few pictures, of course! This clearly is not a cafe curtain/rod/curtain placement, but it does give the idea of how they'll look once they are up.

They are a little stiff, but they are also fresh off the ironing board so I'm hoping the fabric will rest a little. I also worried a bit about the thick hem at the bottom. I asked Mom her opinion and she says that a thick hem is a sign of quality sewing. Who knew?!
The best part of this project is that it was entirely FREE! Mom had all the materials on hand that I needed so I just had to browse through her stock. I'll have to buy an interior mount cafe curtain rod and the small hooks once we are moved in, but I'm still considering this a huge cost-saver!
There's still so much to do once we get moved in, but I'll keep shopping around in Mom and Dad's house for free or nearly free projects in the mean time!
No comments:
Post a Comment