
Consider it pure joy, my brothers, whenever you face trials of any kinds because you know that the testing of your faith develops perseverance. Perseverance must finish its work so that you may be mature and complete, not lacking anything. James 1:2-4
With high hopes we'd start moving into the house this past weekend, we were absolutely elated to find out that Lis and Matt's new house has PASSED THEIR INSPECTION! Woohooooo (Vicki Gunvalson anyone?!) Less than two hours later, our dreams were crushed when we found out it would be two more weeks before the little house was ours for the renovating. Unfortunately, there are some issues that need to be corrected in the big house before Matt and Lis will be moving in. But... I picked my jaw up off the floor and moved it right along. I've been busy with various little projects to pass the time until we can pack up and settle in. Guess what I'm going to share with you today?!
Operation: Dresser Renovation
Thrifty ol' me found this dresser while we were living in Byrnes Down at a yard sale for $40. But I didn't pay $40, I paid $25! With big dreams and high hopes, I drug Charlie around the neighborhood to pick up my find. It was hideous and it was all mine.

After looking around the glorious world wide web and exploring multiple DIY blogs and websites, I was ready to get started. I gathered my supplies...
various grains of sandpaper
plenty of paintbrushes
wood putty
putty knife
Pinesol
five gallon bucket
old rags
shop vac
shellac based primer
desired paint color
new hardware for my drawers
wood glue
wood clamp
If you plan to use the same hardware or hardware that has the same foundation (one hole vs. two holes vs. wide set vs. narrow set), you can skip the putty knife and wood putty. Lucky you!

I wish I had taken the time to get a better before picture. Y'all, this thing was ugly! That oak stain circa 1990 had. to. go. But I paid the $25 because I knew this chest of drawers was legit. To prove it, super Mom made tell her all the ways I knew it was a worthy investment.
1. solid wood
2. dovetail drawers
3. partitions between the drawers (Okay, fine, I didn't know this was good. Mom had to tell me this one).
My favorite thing about the piece was the slight convex shape of the top three drawers and the slight concave shape of the bottom three. You hardly paid any attention at all to this feature when it was wood, but it was beautiful!

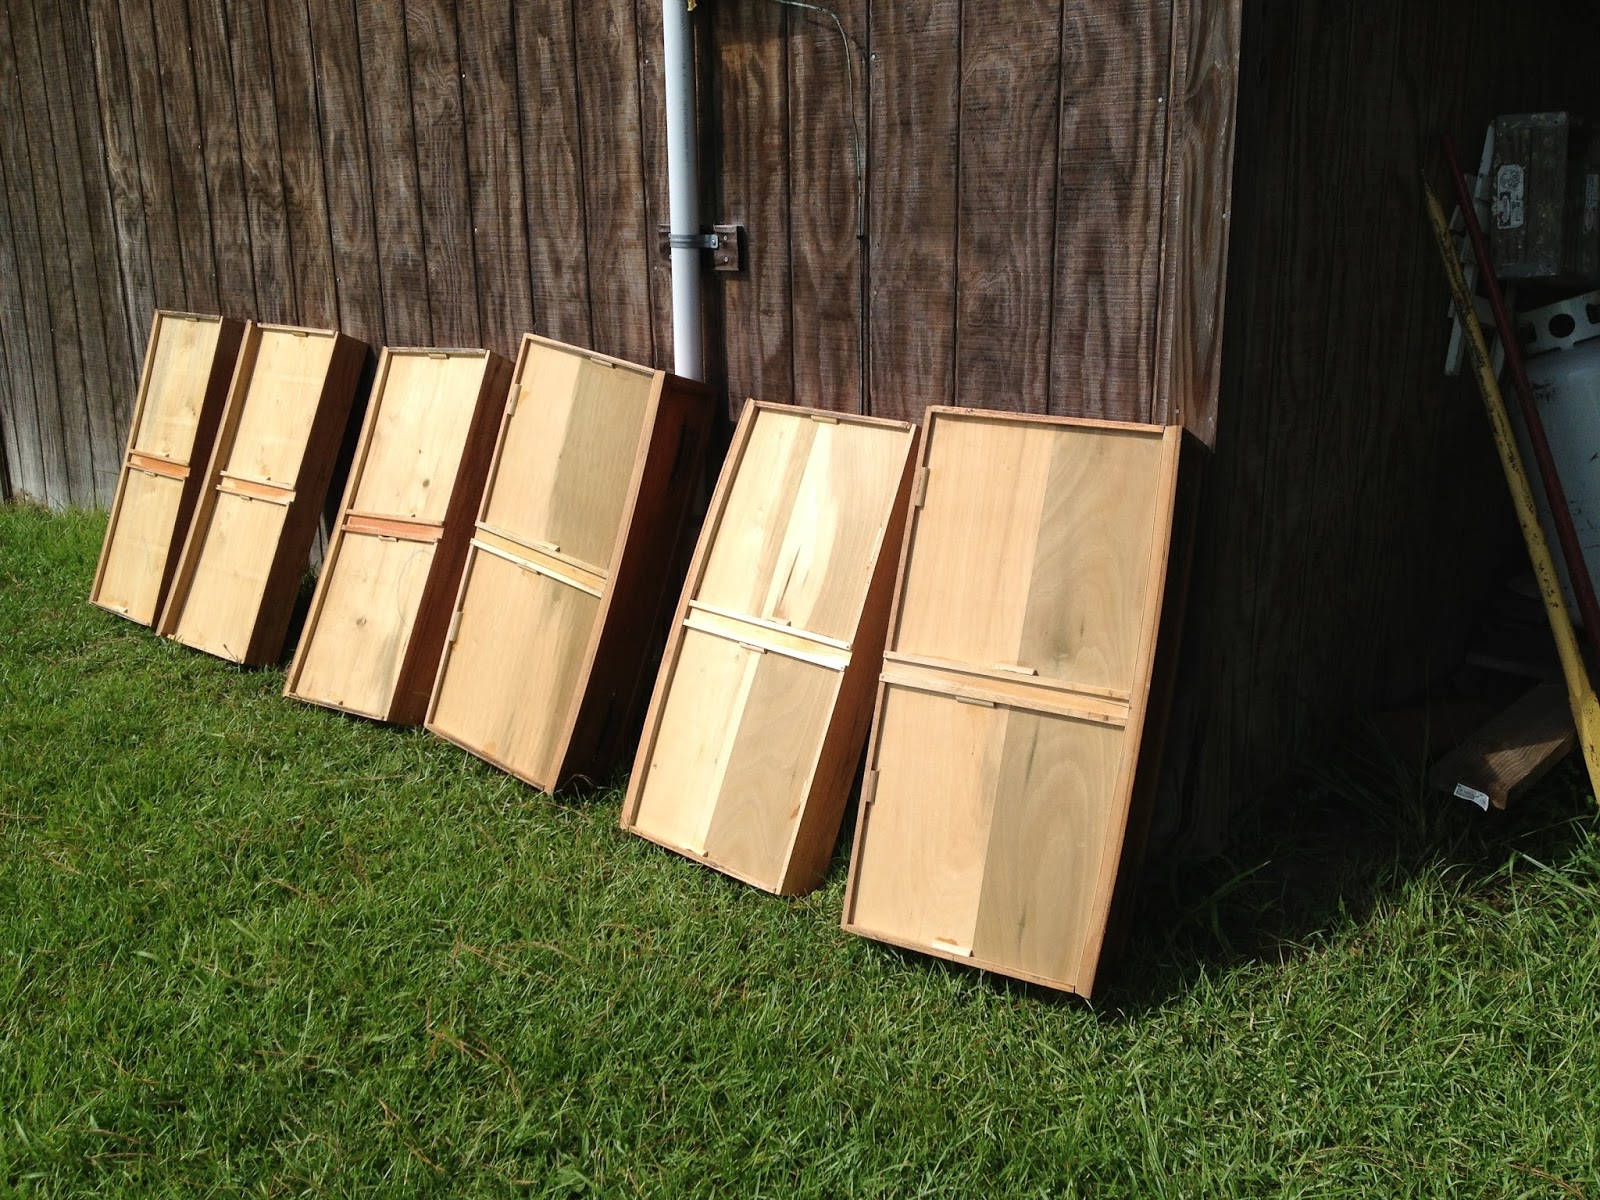
So I took the drawers out and vacuumed the whole thing. This was important because I'd been storing this baby in the garage and it had all kinds of yucky on it. Drawers, shell, everything got vacuumed.
Next, I mixed up some water straight out the spigot with a little pinesol. With an old rag, I wiped down every single surface and put everything in the sun to dry. By no means was my rag sopping wet (I didn't want the wood to soak up all that water), but it was definitely wet enough to give it a good wipe down.

One of drawers was a little loose at the joint, so I put a little wood glue down and held it overnight with a clamp.

I decided to use different hardware than what was original to the piece, so I filled in the previous holes that I wouldn't need with my wood putty and putty knife. I let this dry overnight. The next day I sanded down the excess and used super coarse sandpaper to scuff the finish.

I applied two coats of this Zinsser shellac based primer to get a nice solid coverage over the wood stain. The shellac primer is definitely more of an investment, but I have found that it really covers and seals the surface, resulting in a smoother finish of the final product.
I hoped that the two coats of primer would let me sneak by with only one topcoat, but I ended up going ahead and doing a second. There were only a few areas to touch up, but I figured that if I had spent the time and energy to make it this far, why not take another hour or so to really do it right?!

After finishing up the new paint job, I took everything inside out of the South Carolina humidity. I let it rest for a day and took to lining the drawers. I did a little research, again on DIY blogs and websites, and decided that I'd find some cute paper and use and adhesive to make the drawer liners. For the first time during this project, I let Charlie have some input. We ended up with sock monkey lining. Shall I say more?

I was drooling over the different glass knobs at Anthropolgie, but I snapped out of it and found these that were almost identical for less than half the price at Nadeau in Mount Pleasant while browsing Sunday afternoon!
All in all, I paid less than $100 for this entire project which is great considering what a new chest of drawers costs these days!
$25 piece of furniture at a yard sale
$3 each of the glass knobs, twelve total (inspiration knobs were $8-10 each)
$13 each, two pints of paint
$10 for the drawer lining
$4 for a household grade of 3M spray adhesive.
The shellac primer was definitely the most costly investment at $40/gallon.
I'm loosely calculating the total, as the adhesive, remaining paint and shellac primer will all be used for future projects.
LOVE, LOVE, LOVE!!
ReplyDelete